


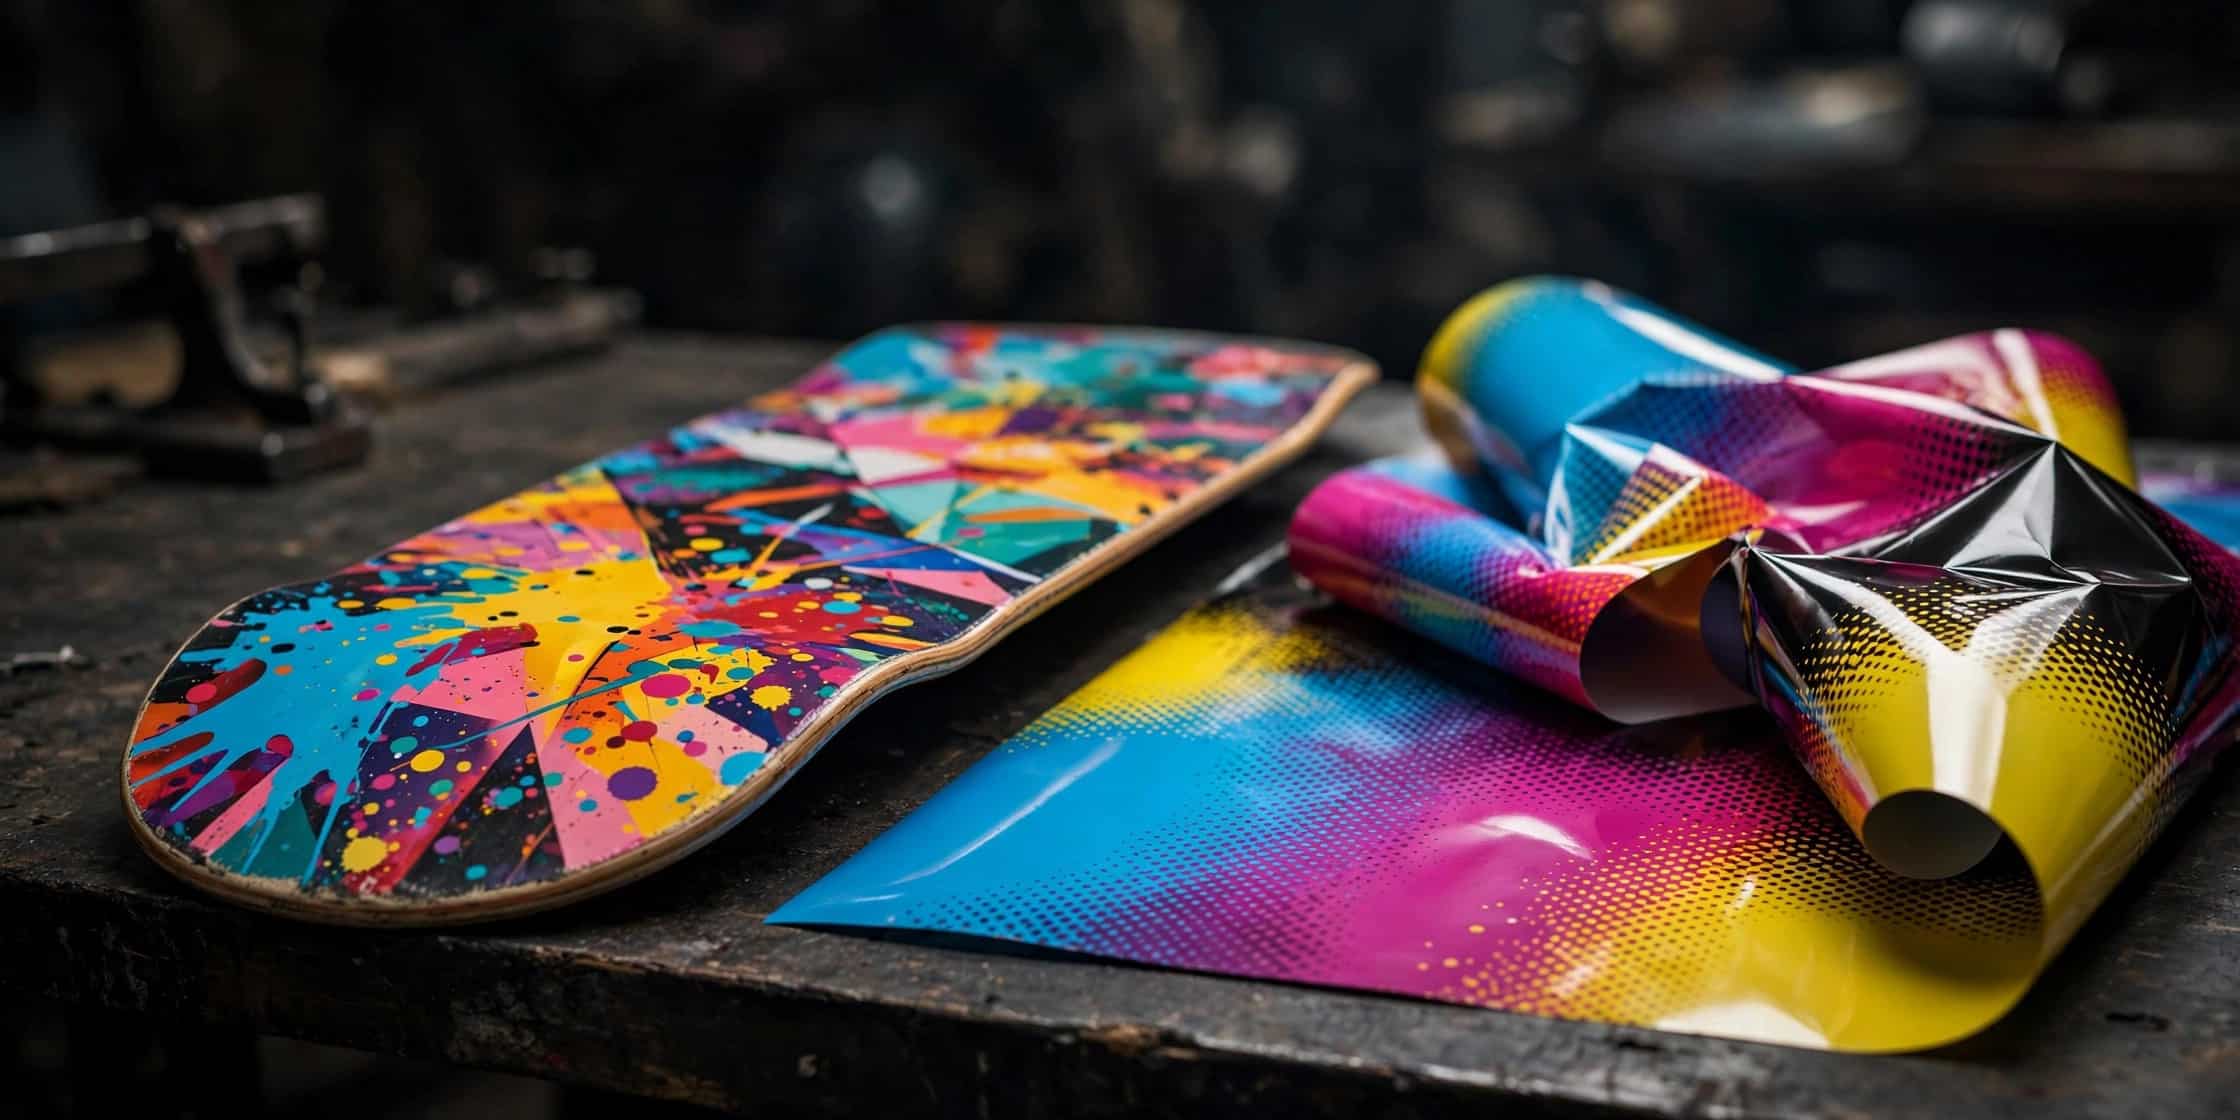
If your board graphics look perfect on screen but slightly wrong on the finished deck, file setup is usually the reason. This guide is written for designers preparing artwork for BRUH Manufacturing’s real wear heat transfer.
Most custom skateboard orders start at 20 sheets, with standard turnaround of 5–7 days. Clean artwork keeps your batch on schedule; fixable mistakes can cost days. If you are new to the process, our custom skateboard heat transfer guide explains how artwork becomes a finished deck.
1. Canvas setup: design at actual size
Set your document to the physical deck size you are printing. For a standard deck, build the canvas at 9″ x 33″ at 300dpi. Designing at actual size matters because heat transfers are applied to a real object; scaling artwork later can soften edges, shift placement, and distort proportions.
Do not enlarge a low-resolution screen comp at export; changing the resolution number does not create true 300dpi detail.
2. Bleed and safe zones: add 0.25″ bleed
Add 0.25″ bleed around the standard 9″ x 33″ artwork. Extend background colors, textures, and edge graphics fully into the bleed so there is no unprinted edge if trimming shifts slightly.
Just as important, keep critical artwork away from the cut edge and truck-hole areas. Logos, small text, faces, and other key details should sit comfortably inside the trim rather than touching the boundary.
3. Color mode: work in CMYK, plan bright colors carefully
Prepare final artwork in CMYK. Many bright colors that glow on an RGB monitor cannot be reproduced exactly in print, so vivid screen colors may shift when converted.
Special finishes need extra planning. BRUH Manufacturing offers glow-in-the-dark, gold, silver, holographic/laser, embossed, and matte finishes. If your design uses one of these effects, label the affected areas clearly in the file so production knows exactly where the finish belongs. For unfamiliar terms, our heat transfer glossary is a useful reference.
4. Resolution and detail: 300dpi is the minimum
Use 300dpi at actual size for all raster elements. That is the minimum for crisp skateboard graphics. Low-resolution images may look acceptable on screen but become visibly soft when printed at full deck size.
Be conservative with very thin lines and very small text. Extremely fine strokes, tiny reversed type, and dense miniature details can lose clarity in production. Check small elements at 100% and simplify anything that is hard to read.
5. File formats: PNG vs PDF
Send 300dpi PNG or PDF at actual size. Choose the format that matches how your artwork was built:
- PNG: best for raster artwork and photographic graphics. Export flattened at 300dpi, actual size, with bleed included.
- PDF: best for vector-heavy designs and artwork containing text. Keep the layout at actual size, include bleed, and make sure fonts are embedded or outlined.
A print-ready file needs no guessing: correct size, 0.25″ bleed, CMYK, 300dpi, usable text, and labeled finishes.
6. Five common artwork mistakes that delay orders
- Wrong canvas size: artwork is not built at actual deck size.
- Missing bleed: backgrounds stop at the trim instead of extending 0.25″ outward.
- RGB final file: bright screen colors shift unexpectedly in print.
- Low-resolution images: web graphics are enlarged instead of rebuilt at 300dpi.
- Unlabeled finishes or missing fonts: special effects are unclear, or text cannot be reproduced reliably.
FAQ
### What file format should I send for skateboard graphics?
Send a 300dpi PNG or PDF at actual size, with 0.25″ bleed for a standard 9″ x 33″ deck.
### Do I really need bleed on a skateboard graphic?
Yes. Add 0.25″ bleed and extend backgrounds into it. Bleed protects the design if trimming shifts slightly during production.
### Can I design with special finishes?
Yes. You can use glow-in-the-dark, gold, silver, holographic/laser, embossed, or matte finishes. Label those areas clearly so the factory applies the effect in the right places.
### What is the minimum order and turnaround?
The minimum order is 20 sheets, and standard turnaround is 5–7 days. Clean, print-ready artwork helps protect that schedule.
Ready to send your artwork?
If your file is print-ready, upload your skateboard heat transfer artwork to start production. For pricing or finishes, request a quote before printing.