


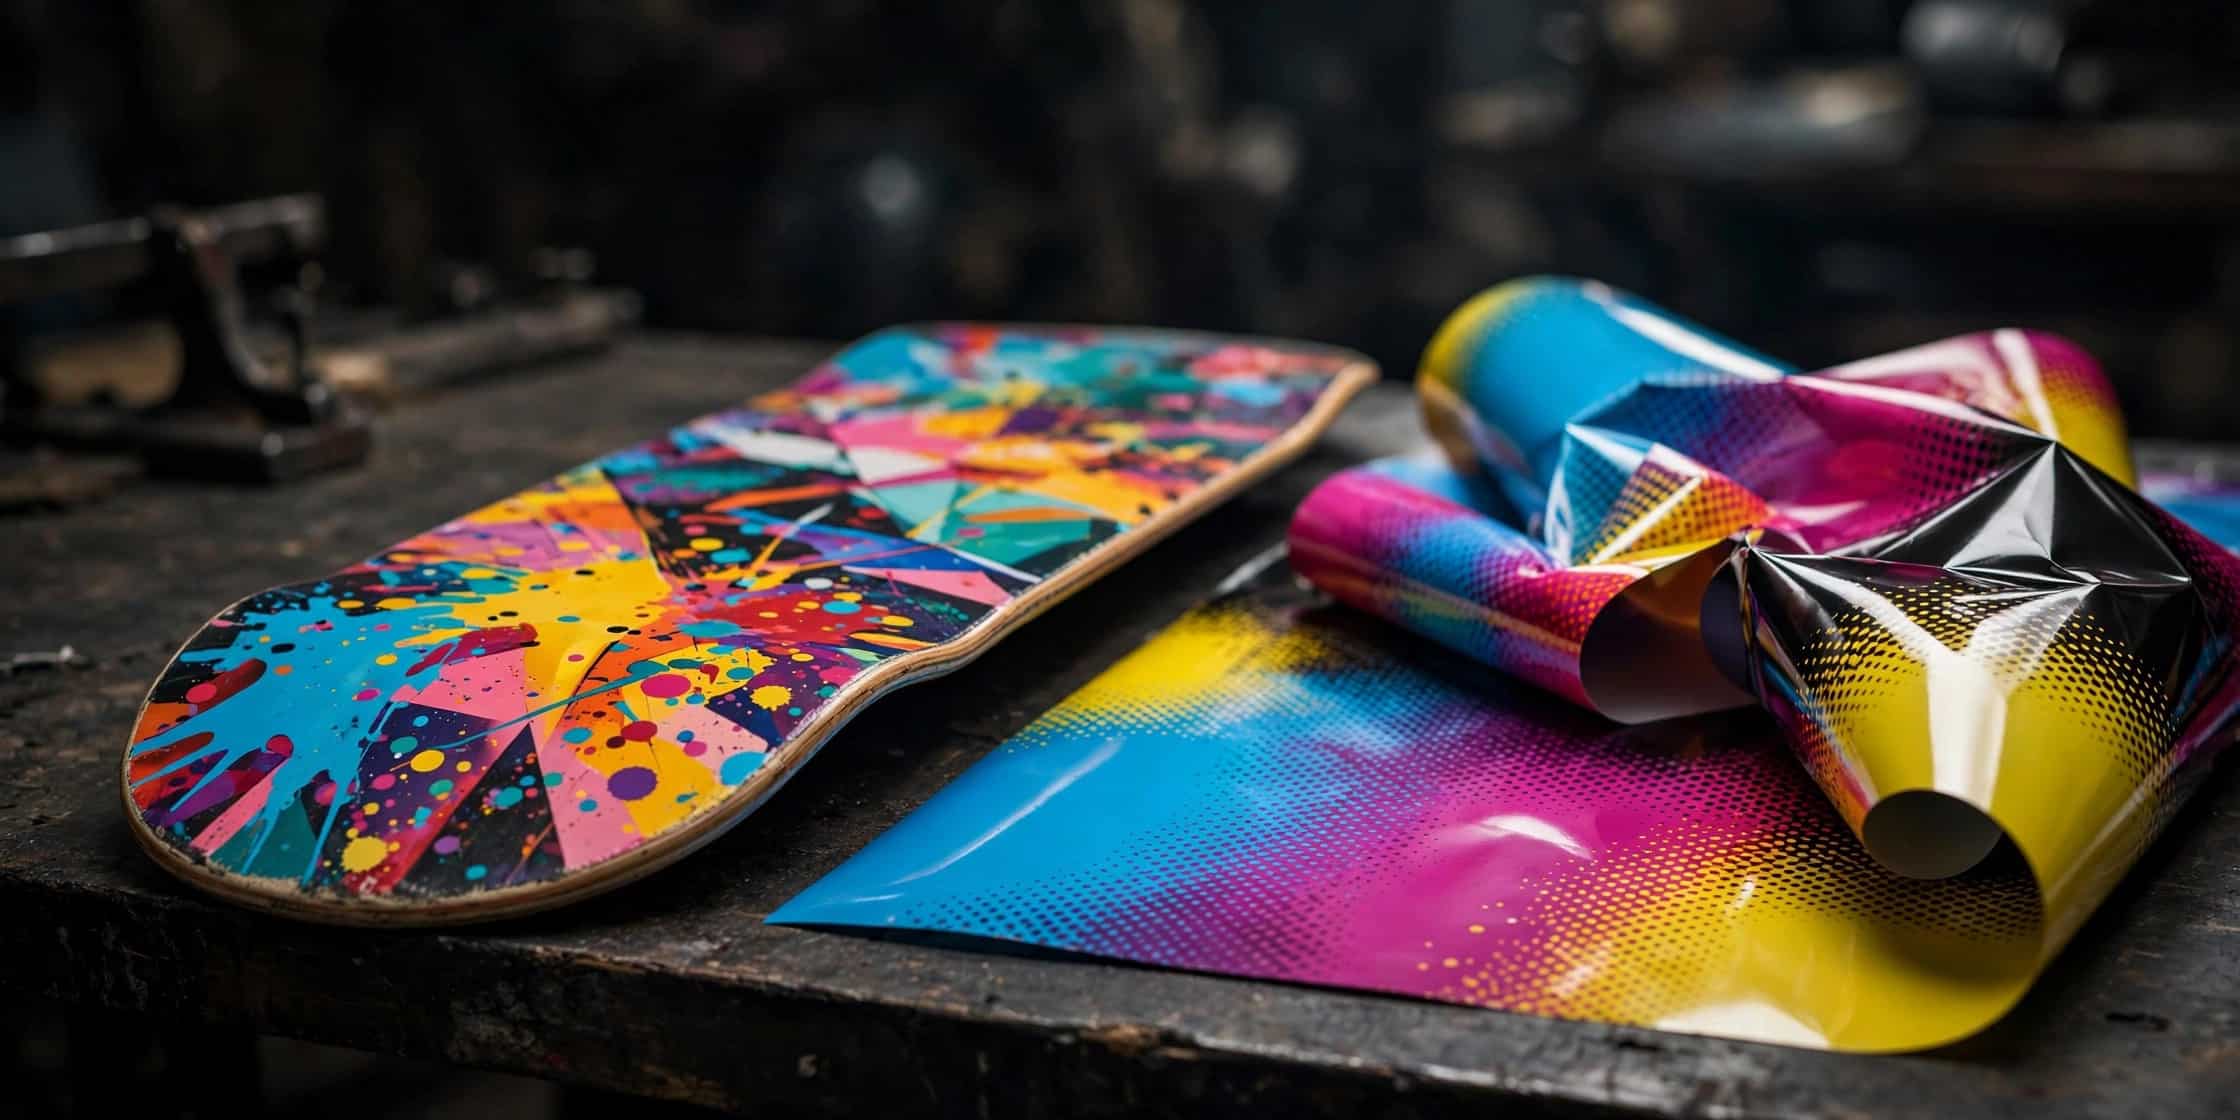
Applying a heat transfer to a skateboard deck is straightforward once you know the process: position the printed film, press it with heat and pressure, peel the carrier, and you’re done. This guide walks through each step so your first press comes out clean — whether you’re a skate shop pressing one-offs or a brand running a full production batch.
New to heat transfers? Start with our complete guide to custom skateboard heat transfers for costs, finishes, and how ordering works.
What You’ll Need
- A printed real wear heat transfer graphic, sized to your deck (standard: 9″ × 33″)
- A heat transfer machine (flat press large enough for a full deck) — see our skateboard heat transfer machine
- A clean, unfinished or sanded skateboard deck
- Heat-resistant tape (optional, to hold the film in place)
- A test/blank deck for your first press
Step 1 — Prep the Deck
Wipe the deck surface clean of dust and oils. If the deck has an old graphic or rough finish, sand it smooth — the transfer bonds best to a clean, even surface. Make sure the deck is completely dry; trapped moisture is the number one cause of bubbles.
Step 2 — Position the Graphic
Lay the transfer film ink-side down on the deck (the printed side faces the wood). Center it nose-to-tail and rail-to-rail. Once you’re happy with placement, tack the corners with small pieces of heat-resistant tape so nothing shifts when you close the press.
Step 3 — Press with Heat and Pressure
Set your press to around 200°C (400°F) with firm, even pressure. Place the deck in the press and close it for the recommended dwell time for your film. Don’t guess on a production run — press one test deck first, then adjust.
Tip: Uneven pressure is the most common cause of edges lifting. If your press has cold spots, rotate the deck 180° halfway through and press again.
Step 4 — Peel the Carrier Film
Open the press and peel away the transparent carrier film while the deck is still warm (follow your film’s hot-peel / cold-peel instruction). Peel slowly at a low angle. The graphic should stay bonded to the wood with crisp edges.
Step 5 — Cool and Inspect
Let the deck cool flat. Check the full graphic: edges adhered, colors even, no bubbles. Give it a fingernail test at a corner — a properly bonded real wear transfer won’t lift.
Tips for Best Results
- Always test first. One blank deck sacrificed to dial in settings saves an entire batch.
- Mind your artwork. Low-resolution files print dull — use 300 dpi PNG or PDF at actual size with 0.25″ bleed. See our artwork specs.
- Store film flat. Curled or creased film presses unevenly.
- Keep records. Note the temperature, pressure, and time that worked for each deck/film combo.
Common Mistakes to Avoid
- Pressing a dusty or damp deck (bubbles)
- Too little pressure (lifting edges)
- Too much heat or dwell time (scorched wood, film won’t release)
- Skipping the test press (wasted transfers)
Running into problems? See our troubleshooting guide for skateboard heat transfers for fixes to peeling, fading, bubbles, and more.
FAQ
What temperature do I press a skateboard heat transfer?
Around 200°C (400°F) with firm, even pressure. Exact dwell time depends on the film — always test on a blank deck first.
Can I use a regular iron instead of a heat press?
Not recommended. Irons can’t deliver the even pressure and consistent temperature a full-size deck needs — you’ll get lifting edges and uneven bonding.
How long does a heat transfer last on a skateboard?
A properly applied real wear transfer wears naturally with skating, like any pro deck graphic. It won’t peel off in one piece.
Where do I get custom graphics printed?
Upload your artwork and we’ll print it — 20 graphics minimum, 5–7 day standard turnaround, 48-hour rush available. See pricing.
*Ready to press your own graphics? Get custom heat transfers printed — factory direct, worldwide shipping.*